|
|
||||
| ||||
Main Menu |
||||||||
|
|
||||||||
Contact |
||||||||
|
|
||||||||
Creating PDF Files with FREE PrimoPDF Application
This article is broken into two parts - "Download and Install PrimoPDF to your XP or Vista PC" and "Using PrimoPDF to create PDF files".
Download and Install PrimoPDF to your XP or Vista PC.
PrimoPDF may be downloaded free from: http://www.primopdf.com/
Part of the PrimoPDF Home page is shown below:
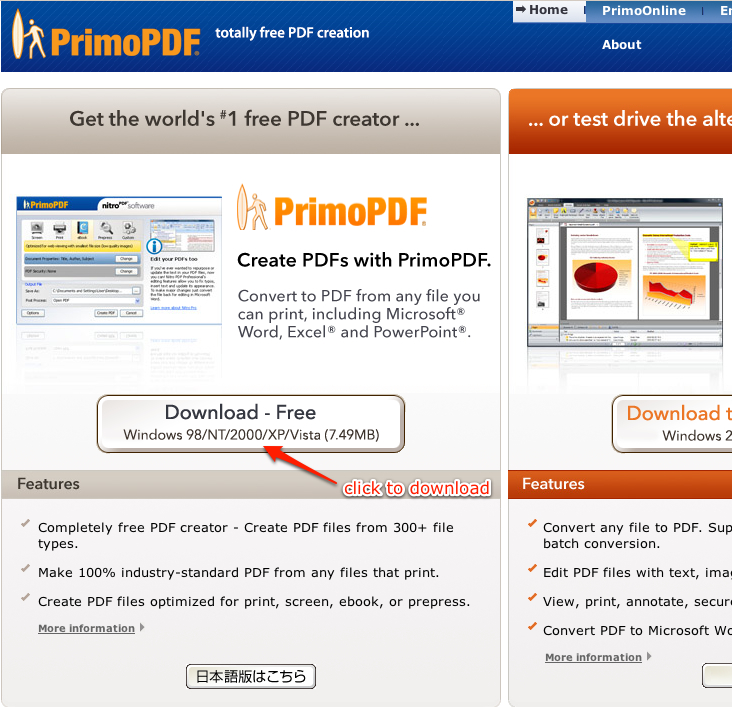
Click the "Download - Free" button; that will birng up the window partially shown below:
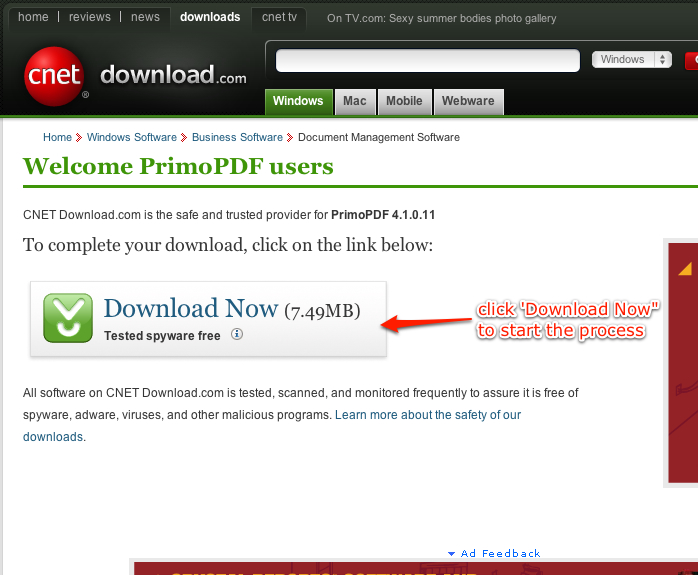
The download process will then start, the window is partially shown below:
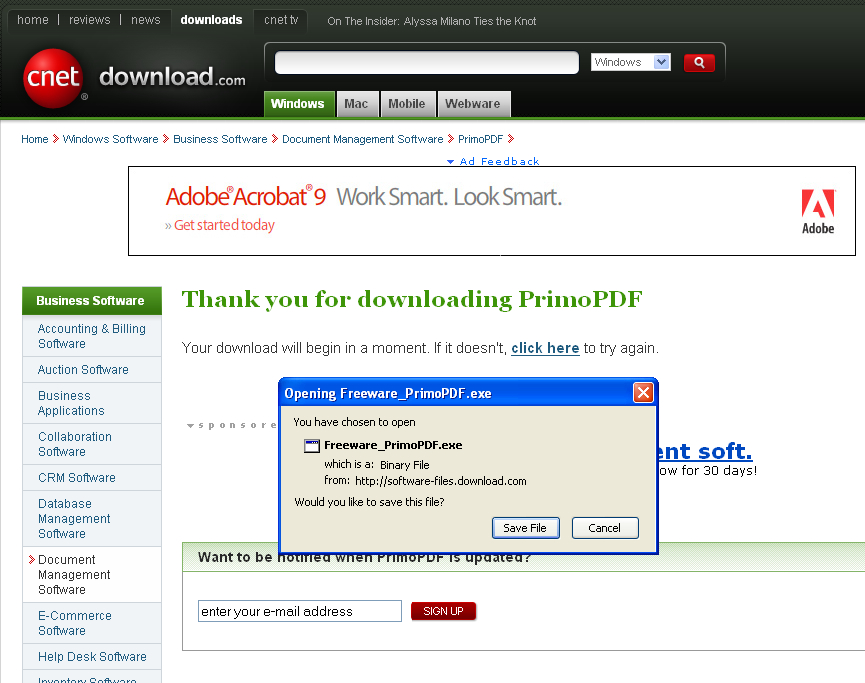
A small window labeled "Opening Freeware_PrimoPDF.exe" will pop up over the web page, as shown above.
After the download process completes, you must RUN the .exe file you just saved - this will install PrimoPDF on your cmputer.
It is recommended to accept the defaults. If installed properly, you will see the "PrimoPDF" 'printer' in you Printer Dialog window when you select "Print" from any Windows program. (See screen shot below.)
Using the Primo PDF to create PDF files
The Primo PDF program is FREE and it is easy to create PDF files from any program that is capable of printing output. It installs itself as another PRINTER that you can select in the Printer dialog
We have tested the Primo PDF generator against Adobe PDF. We first created a PDF file using Adobe and then created a file from the same document using Primo PDF. We then did a visual comparison and then compared the two PDF files we generated digitally. We could neither see nor detect any difference between the two files.
A PDF Creator is essentially another 'Printer' that is added to your "Printers" collection. Many people only have one or two printers installed; after installing Primo PDF, they will have another.
To create a PDF file from a given program, you must select 'Print'. This is usually under the "File" menu. Once you click File --> Print, then a dialog window will open giving you the option to selecte a pritner.
NOTE: Do NOT do a 'quick' print, if the program provides for this option. This is usually done by clicking on a printer icon. Using 'quick print' or 'fast print' you do not get the printer dialog window and the output will go to your default printer. (Unless you have the PDF 'printer' designated as your default printer.)
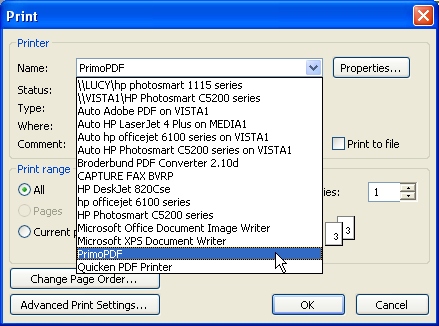
Printer Dialog Window - Select the "Printer" labeled "PrimoPDF"
(note - you will probably not see such a large slection of printers in most cases)
Once the "PrimoPDF" printer has been selected, Click the "OK" button. The PrimoPDF
window will open, as shown below:
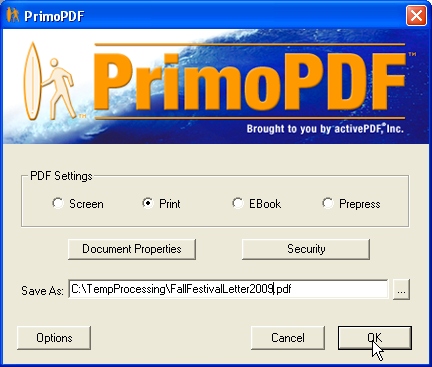
Browse ( [...] ) or TYPE the name and location of the file you want to create.
Note that this will have the extension ".pdf" since it is a PDF type file. Once you have
name selected in "Save As:" then click "OK"
The PDF file will be written to the "Save As:" location and anew window will open with
your newly created document in PDF format for viewing. You may then copy or email
the PDF file as an attachment or any other required action.
| Support Area |
Copyright ©DayComSolutions.com 2005-2012 All Rights Reserved |